Table of Contents
- Introduction
- What is Raspberry Pi?
- Why Use Remote Connection?
- Prerequisites
- Step 1: Install Raspberry Pi OS
- Step 2: Enable SSH
- Step 3: Connect to Your Network
- Step 4: Find Your Raspberry Pi IP Address
- Step 5: Remote Access Using SSH
- Step 6: Secure Your Connection
- Step 7 (Optional): Use VNC for GUI Access
- Troubleshooting Tips
- Conclusion
Introduction
Setting up a free remote connection to your Raspberry Pi can open up a world of possibilities. Whether you're a hobbyist, a student, or a professional developer, remotely accessing your Raspberry Pi allows you to control and manage it from anywhere in the world without needing physical access. This guide will walk you through the entire process step-by-step, ensuring that you can establish a secure and reliable connection.
Raspberry Pi is a versatile and affordable single-board computer that has gained immense popularity for its ability to handle a wide range of tasks, from home automation to server hosting. By setting up remote access, you can leverage the full potential of your Raspberry Pi without being tied to its physical location.
In this article, we'll cover everything you need to know about setting up a free remote connection to your Raspberry Pi. From understanding the basics of remote access to securing your connection, this guide is designed to be comprehensive yet easy to follow. Let’s dive in!
Read also:Net Worth Of Allu Aravind A Comprehensive Guide To His Wealth And Career
What is Raspberry Pi?
Raspberry Pi is a series of small, single-board computers developed by the Raspberry Pi Foundation. Initially designed to promote teaching of basic computer science in schools, Raspberry Pi has evolved into a powerful tool for hobbyists, developers, and professionals alike. It is capable of running various operating systems, including Raspberry Pi OS (formerly Raspbian), Ubuntu, and even Android.
Key Features of Raspberry Pi
- Compact size and low power consumption
- Supports a wide range of programming languages and tools
- Extensive GPIO pins for hardware interfacing
- Capable of running multiple operating systems
With its versatility and affordability, Raspberry Pi has become a go-to solution for projects ranging from home automation systems to media servers and even lightweight web servers.
Why Use Remote Connection?
Remote connection allows you to interact with your Raspberry Pi from another device, such as a laptop, smartphone, or tablet. This is particularly useful when your Raspberry Pi is located in a remote or inaccessible location. Here are some reasons why you might want to set up remote access:
Advantages of Remote Connection
- Convenience: Access your Raspberry Pi from anywhere in the world.
- Efficiency: Perform tasks without needing physical access to the device.
- Cost-Effective: Eliminate the need for additional hardware like monitors or keyboards.
- Scalability: Manage multiple Raspberry Pi devices from a single interface.
By setting up a remote connection, you can maximize the utility of your Raspberry Pi while minimizing the need for direct interaction.
Prerequisites
Before diving into the setup process, ensure that you have the following:
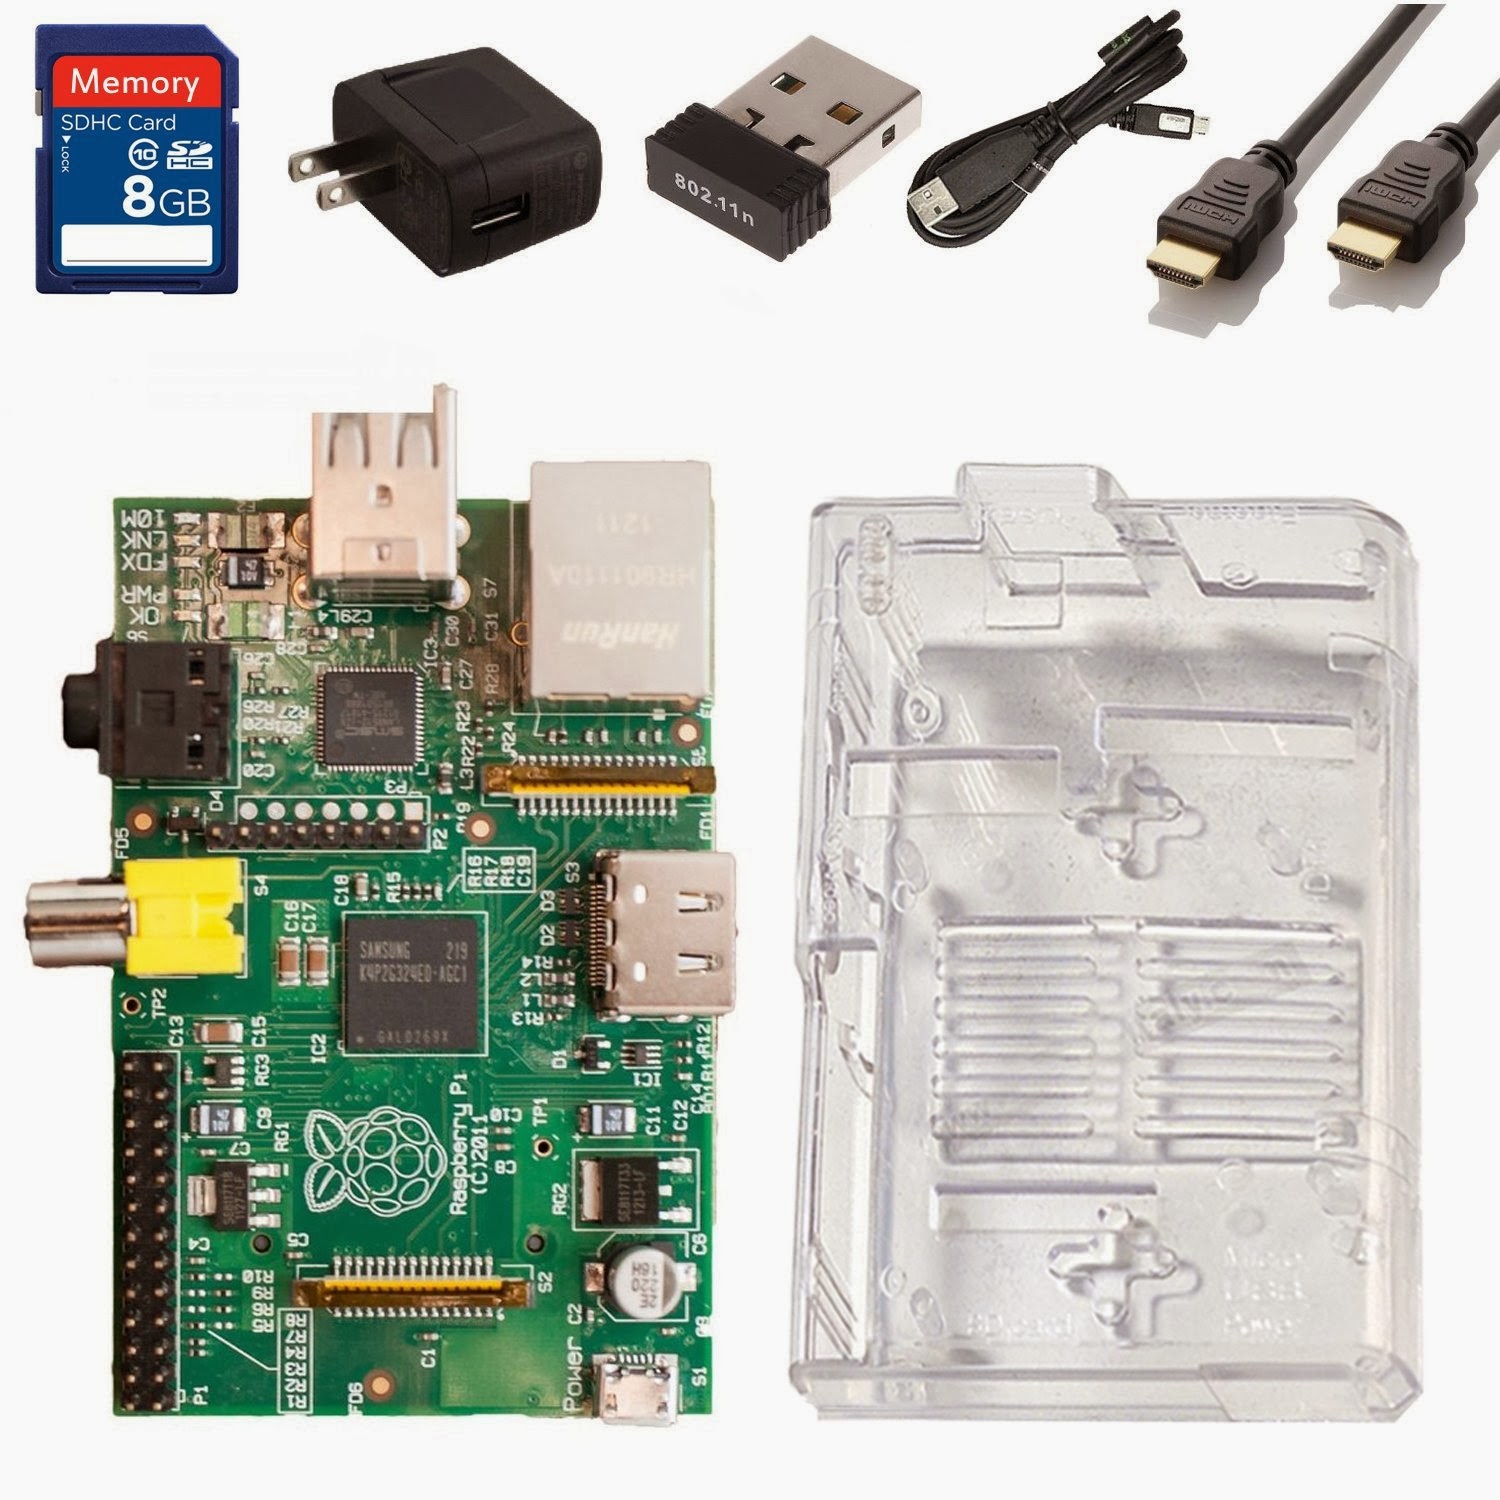
Hardware Requirements
- A Raspberry Pi (any model with Wi-Fi capability is ideal)
- MicroSD card (minimum 8GB recommended)
- Power supply compatible with your Raspberry Pi model
- Internet connection (Wi-Fi or Ethernet)
Software Requirements
- Raspberry Pi OS image (downloadable from the official website)
- SD card formatting tool (e.g., SD Card Formatter)
- SSH client (e.g., PuTTY for Windows or Terminal for macOS/Linux)
Having these prerequisites ready will ensure a smooth setup process.
Read also:Sistine Stallone Boyfriend A Closer Look At Her Love Life And Relationships
Step 1: Install Raspberry Pi OS
The first step in setting up your Raspberry Pi is installing the operating system. Raspberry Pi OS is the recommended OS for beginners and offers a user-friendly interface.
How to Install Raspberry Pi OS
- Download the Raspberry Pi Imager tool from the official Raspberry Pi website.
- Insert your microSD card into your computer.
- Open the Raspberry Pi Imager and select "Raspberry Pi OS" as the operating system.
- Choose your microSD card as the storage device.
- Click "Write" to install the OS on the microSD card.
Once the process is complete, eject the microSD card and insert it into your Raspberry Pi.
Step 2: Enable SSH
SSH (Secure Shell) is a protocol that allows secure remote access to your Raspberry Pi. By default, SSH is disabled for security reasons, so you need to enable it manually.
How to Enable SSH
- Create an empty file named "ssh" (without any extension) in the root directory of the microSD card.
- Eject the microSD card and insert it back into your Raspberry Pi.
- Power on your Raspberry Pi and ensure it connects to your Wi-Fi network.
SSH will now be enabled, allowing you to connect remotely.
Step 3: Connect to Your Network
To access your Raspberry Pi remotely, it must be connected to the same network as your accessing device or have a public IP address.
Connecting via Wi-Fi
- Edit the "wpa_supplicant.conf" file on the microSD card to include your Wi-Fi credentials.
- Save the file and reinsert the microSD card into your Raspberry Pi.
- Power on the device and verify that it connects to your Wi-Fi network.
Alternatively, you can connect via Ethernet if your Raspberry Pi is near a router.
Step 4: Find Your Raspberry Pi IP Address
To establish a remote connection, you need to know the IP address of your Raspberry Pi.
Methods to Find the IP Address
- Check your router's connected devices list.
- Use a network scanning tool like Advanced IP Scanner.
- Run the command "hostname -I" in the Raspberry Pi terminal if you have temporary access.
Once you have the IP address, you’re ready to proceed to the next step.
Step 5: Remote Access Using SSH
Now that SSH is enabled and you have the IP address, you can connect to your Raspberry Pi remotely.
Connecting via SSH
- Open your SSH client (e.g., Terminal or PuTTY).
- Enter the command:
ssh pi@. - When prompted, enter the default password: "raspberry".
You should now have access to your Raspberry Pi’s terminal.
Step 6: Secure Your Connection
Securing your Raspberry Pi is crucial to prevent unauthorized access.
Security Tips
- Change the default password immediately after your first login.
- Set up a firewall using tools like UFW (Uncomplicated Firewall).
- Disable unused services and ports.
- Use SSH key-based authentication instead of passwords for added security.
By implementing these measures, you can ensure that your Raspberry Pi remains safe from potential threats.
Step 7 (Optional): Use VNC for GUI Access
If you prefer a graphical user interface (GUI) over the command line, you can set up VNC (Virtual Network Computing).
Setting Up VNC
- Install the VNC server on your Raspberry Pi by running:
sudo apt install realvnc-vnc-server. - Enable VNC in the Raspberry Pi configuration menu.
- Download and install a VNC viewer on your accessing device.
- Connect to your Raspberry Pi using the IP address and VNC credentials.
VNC provides a more user-friendly experience for those who are not comfortable with the command line.
Troubleshooting Tips
Here are some common issues you might encounter and how to resolve them:
Common Problems and Solutions
- SSH Connection Refused: Ensure SSH is enabled and the correct IP address is used.
- Incorrect Password: Double-check the password and consider resetting it.
- Network Issues: Verify that your Raspberry Pi is connected to the network.
If you encounter persistent issues, consult the official Raspberry Pi forums or documentation for further assistance.
Conclusion
In this guide, we’ve covered everything you need to know about setting up a free remote connection to your Raspberry Pi. From installing the operating system to securing your connection, this step-by-step approach ensures that you can manage your Raspberry Pi from anywhere in the world.
Remote access not only enhances convenience but also expands the potential applications of your Raspberry Pi. Whether you’re building a smart home system or hosting a web server, the ability to control your device remotely is invaluable.
We encourage you to experiment with different configurations and explore the vast possibilities of Raspberry Pi. If you found this guide helpful, feel free to share it with others or leave a comment below. For more tutorials and guides, check out our other articles!