Are you looking for a way to remotely manage your Raspberry Pi device using SSH on a Mac? You’re in the right place! SSH (Secure Shell) is a powerful tool that allows you to securely access and control your Raspberry Pi from anywhere in the world. With the help of RemoteIoT, you can streamline this process and make remote management easier than ever. In this article, we will explore everything you need to know about setting up SSH on your Raspberry Pi using RemoteIoT, with a focus on free tools available for Mac users. Whether you’re a beginner or an experienced developer, this guide will help you navigate the process step by step.
RemoteIoT is a platform designed to simplify remote device management, making it an ideal choice for managing IoT devices like the Raspberry Pi. By combining SSH with RemoteIoT, you can securely access your device, monitor its performance, and troubleshoot issues without being physically present. This is particularly useful for developers, engineers, and hobbyists who rely on Raspberry Pi for various projects. In this guide, we’ll walk you through the entire process, from downloading the necessary tools to configuring your device.
By the end of this article, you’ll have a clear understanding of how to set up SSH for your Raspberry Pi using RemoteIoT on a Mac. We’ll also discuss the benefits of using this setup, provide troubleshooting tips, and answer common questions. Let’s dive into the details and get started!
Read also:Czech Wife Swap 2 Actress A Comprehensive Look Into The Controversial Film
Table of Contents
- Introduction to SSH and RemoteIoT
- Benefits of Using SSH on Raspberry Pi
- Step-by-Step Guide to Setting Up SSH
- Downloading RemoteIoT for Mac
- Configuring Raspberry Pi for Remote Access
- Troubleshooting Common Issues
- Security Tips for SSH Connections
- Advanced Features of RemoteIoT
- Comparing RemoteIoT with Other Tools
- Conclusion and Next Steps
Introduction to SSH and RemoteIoT
SSH, or Secure Shell, is a cryptographic network protocol used to securely access and manage devices over an unsecured network. It provides a secure channel for data transmission, making it a popular choice for remote device management. SSH is particularly useful for Raspberry Pi users, as it allows them to control their devices without needing physical access.
RemoteIoT is a platform that enhances the capabilities of SSH by providing a user-friendly interface and additional features for managing IoT devices. It supports devices like the Raspberry Pi and allows users to remotely monitor, configure, and troubleshoot their devices from anywhere in the world. RemoteIoT is compatible with multiple operating systems, including macOS, making it an excellent choice for Mac users.
By combining SSH with RemoteIoT, you can unlock the full potential of your Raspberry Pi. This setup not only simplifies remote management but also enhances security and efficiency. Whether you’re managing a single device or an entire network, SSH and RemoteIoT provide the tools you need to succeed.
Benefits of Using SSH on Raspberry Pi
Using SSH on a Raspberry Pi offers several advantages, especially for developers and hobbyists. Here are some of the key benefits:
- Remote Access: SSH allows you to access your Raspberry Pi from anywhere, eliminating the need for physical interaction.
- Enhanced Security: SSH encrypts data transmission, ensuring that your connection is secure from potential threats.
- Efficient Management: With SSH, you can execute commands, transfer files, and monitor your device’s performance remotely.
- Compatibility: SSH is supported by most operating systems, including macOS, making it versatile and easy to use.
- Automation: You can automate tasks on your Raspberry Pi using SSH scripts, saving time and effort.
These benefits make SSH an essential tool for anyone working with Raspberry Pi devices. When combined with RemoteIoT, the advantages are even greater, as you gain access to additional features and a more intuitive interface.
Step-by-Step Guide to Setting Up SSH
Setting up SSH on your Raspberry Pi is a straightforward process. Below is a step-by-step guide to help you get started:
Read also:7starhd Movies 2023 In Hindi Download A Comprehensive Guide
Enabling SSH on Raspberry Pi
To enable SSH on your Raspberry Pi, follow these steps:
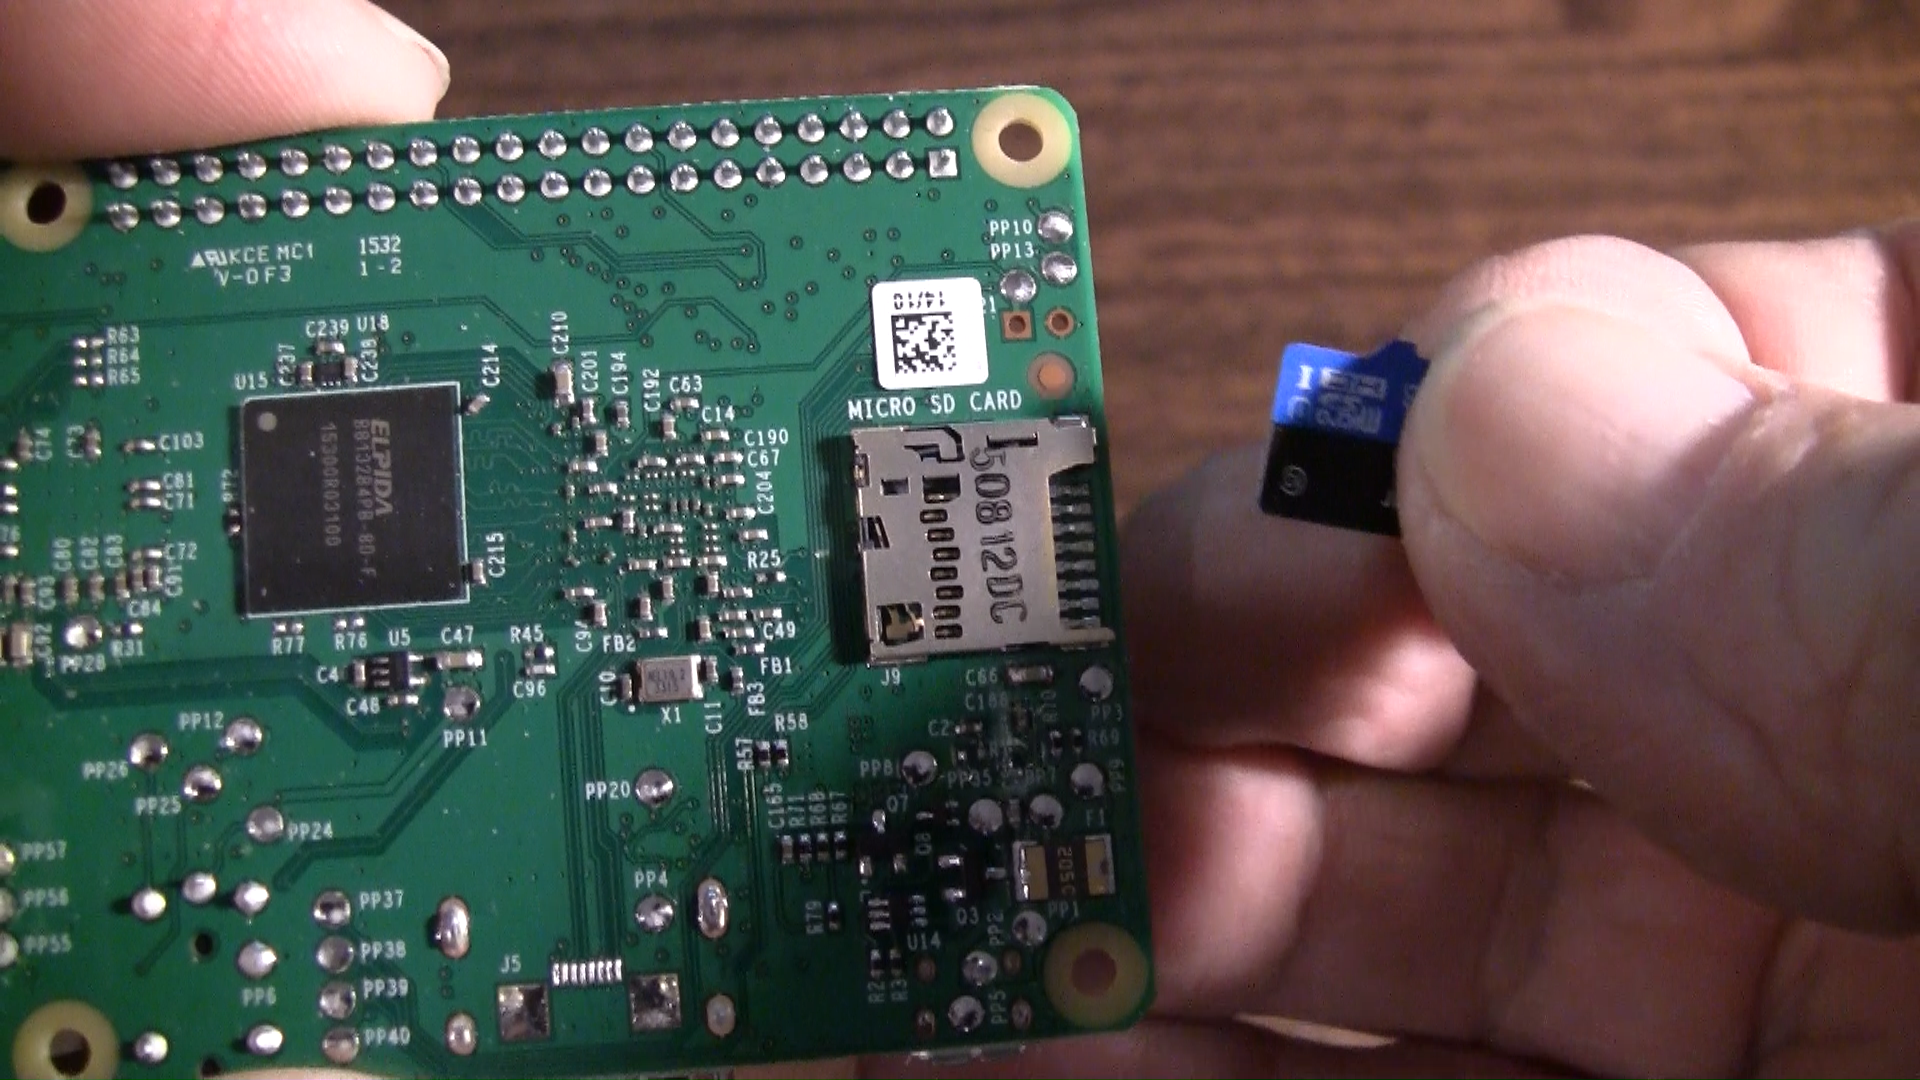
- Insert the SD card with the Raspberry Pi OS into your computer.
- Create an empty file named
ssh(without any extension) in the boot directory of the SD card. - Eject the SD card and insert it back into your Raspberry Pi.
- Power on the Raspberry Pi and ensure it is connected to the same network as your Mac.
Connecting to Raspberry Pi via SSH
Once SSH is enabled, you can connect to your Raspberry Pi using the Terminal on your Mac:
- Open the Terminal application on your Mac.
- Type the following command:
ssh pi@raspberrypi.local. - Enter the default password (
raspberry) when prompted. - You are now connected to your Raspberry Pi via SSH.
With these steps, you’ve successfully set up SSH on your Raspberry Pi. The next section will guide you through downloading and installing RemoteIoT on your Mac.
Downloading RemoteIoT for Mac
RemoteIoT offers a free download for Mac users, making it easy to manage your Raspberry Pi remotely. Here’s how you can download and install the application:
- Visit the official RemoteIoT website and navigate to the downloads section.
- Select the version compatible with macOS and click the download button.
- Once the download is complete, open the installer file and follow the on-screen instructions.
- Launch the RemoteIoT application and log in to your account.
With RemoteIoT installed, you can now connect your Raspberry Pi to the platform and start managing it remotely. The next section will guide you through the configuration process.
Configuring Raspberry Pi for Remote Access
To ensure your Raspberry Pi is ready for remote access, you’ll need to configure a few settings:
Setting Up a Static IP Address
A static IP address ensures that your Raspberry Pi can always be reached at the same address. Follow these steps to configure it:
- Open the Terminal on your Raspberry Pi.
- Edit the
dhcpcd.conffile using the command:sudo nano /etc/dhcpcd.conf. - Add the following lines to the file:
interface eth0 static ip_address=192.168.1.100/24 static routers=192.168.1.1 static domain_name_servers=8.8.8.8
- Save the file and restart the Raspberry Pi.
Configuring Firewall Settings
To enhance security, configure your firewall to allow SSH connections:
- Install UFW (Uncomplicated Firewall) using the command:
sudo apt install ufw. - Allow SSH traffic by typing:
sudo ufw allow ssh. - Enable the firewall with:
sudo ufw enable.
With these configurations in place, your Raspberry Pi is ready for secure remote access.
Troubleshooting Common Issues
While setting up SSH and RemoteIoT, you may encounter some common issues. Here are solutions to a few of them:
- Connection Refused: Ensure that SSH is enabled on your Raspberry Pi and that your Mac is connected to the same network.
- Incorrect Password: Double-check the password you entered. The default password is
raspberry. - Firewall Blocking SSH: Verify that your firewall settings allow SSH traffic.
- Device Not Found: Ensure that your Raspberry Pi has a static IP address and is powered on.
If you continue to experience issues, consult the RemoteIoT documentation or seek help from their support team.
Security Tips for SSH Connections
Securing your SSH connections is crucial to protect your Raspberry Pi from unauthorized access. Here are some tips to enhance security:
- Change Default Password: Always change the default password to a strong, unique one.
- Use Key-Based Authentication: Instead of passwords, use SSH keys for authentication.
- Disable Root Login: Prevent root users from logging in via SSH.
- Limit Access: Restrict SSH access to specific IP addresses.
- Update Regularly: Keep your Raspberry Pi and RemoteIoT software up to date.
By following these tips, you can significantly reduce the risk of security breaches.
Advanced Features of RemoteIoT
RemoteIoT offers several advanced features that enhance its functionality:
- Device Monitoring: Track the performance and health of your Raspberry Pi in real-time.
- Automated Alerts: Receive notifications when issues arise or thresholds are exceeded.
- Remote Commands: Execute commands on your Raspberry Pi directly from the RemoteIoT interface.
- File Management: Transfer files between your Mac and Raspberry Pi seamlessly.
- Multi-Device Support: Manage multiple Raspberry Pi devices from a single platform.
These features make RemoteIoT a powerful tool for managing IoT devices efficiently.
Comparing RemoteIoT with Other Tools
While there are several tools available for managing Raspberry Pi remotely, RemoteIoT stands out for several reasons:
- User-Friendly Interface: RemoteIoT offers an intuitive interface that is easy to navigate.
- Cross-Platform Support: It is compatible with macOS, Windows, and Linux.
- Free Tier: RemoteIoT provides a free version with essential features.
- Robust Security: It uses advanced encryption to protect your data.
- Active Community: RemoteIoT has a supportive community and reliable customer support.
When compared to other tools like PuTTY or WinSCP, RemoteIoT offers a more comprehensive solution for managing IoT devices.
Conclusion and Next Steps
In this article, we’ve explored how to set up SSH on your Raspberry Pi using RemoteIoT, with a focus on free tools available for Mac users. We’ve covered the benefits of using SSH, provided a step-by-step guide to configuration, and discussed advanced features of RemoteIoT. By following this guide, you can securely and efficiently manage your Raspberry Pi from anywhere in the world.
Now that you have the tools and knowledge to get started, it’s time to take action. Try setting up SSH on your Raspberry Pi today and experience the convenience of remote management. If you have any questions or need further assistance, feel free to leave a comment below or reach out to